Defang Blog
Deploy a Go-powered slackbot with Defang
Learn how to build and deploy a Go Slack bot with Defang: configure tokens, write the bot, and launch it in the cloud.
Hey folks! Today, I'm going to share one of our code samples that will show you how to deploy a simple Slack bot. If you're looking to connect a cloud service to Slack to publish status updates, or something else like that, this should help you get started. We'll walk through a step-by-step process of writing a Go program using the github.com/slack-go/slack library to interact with the Slack API and easily deploy it using Defang.
Prerequisites
Before we dive into the details, let's make sure you have everything you need to get started:
Install Defang CLI: Simplify your deployment process by installing the Defang CLI tool. Follow the instructions here to get it up and running quickly.
Slack API Token: Create a Slack App at https://api.slack.com/apps, granting it the necessary permissions, including the bot chat:write scope.

Install the app in your workspace: You'll need to install the app in your workspace for it to work. Click the "Install to Workspace" button in the Slack admin UI to do this. Mine says "Reinstall" because I've already installed it.

Copy the Bot User OAuth Access Token: This token will authenticate your Slackbot with the Slack API.

Invite the Bot to a Channel: To enable your Slackbot, invite it to the desired channel using the @<botname> command. In the screenshot below, my bot's name actually starts with the word invite, but if your bot is called mycoolbot you would invite it with @mycoolbot. This ensures your Slackbot has the required permissions to interact with the channel.

Clone the Sample Code: Clone the Defang repository and navigate to the samples/golang/slackbot directory. This directory contains the sample code for the Slackbot.
Deployment Steps
Now that we have everything set up, let's dive into the deployment process. Follow these steps to deploy your Slackbot effortlessly:
Set Up Secrets: Prioritize security by configuring environment variables as sensitive config. Use the Defang CLI's defang config set command to set the SLACK_TOKEN and SLACK_CHANNEL_ID configs. Replace your_slack_token and your_slack_channel_id with the respective values:
Deploy the Slackbot: Use the Defang CLI's defang compose up command to deploy.
Usage
With your Slackbot up and running, let's explore how to make the most of it. Let's send a POST request to the / endpoint with a JSON body containing the message you want to post to the Slack channel. Popular tools like cURL or Postman can help you send the request:
Takeaways
Congratulations! You've successfully deployed a Slackbot using Defang. If you deployed this as an internal service, you could use it to send status updates, alerts, or other important messages to your team. The possibilities are endless!
Related posts
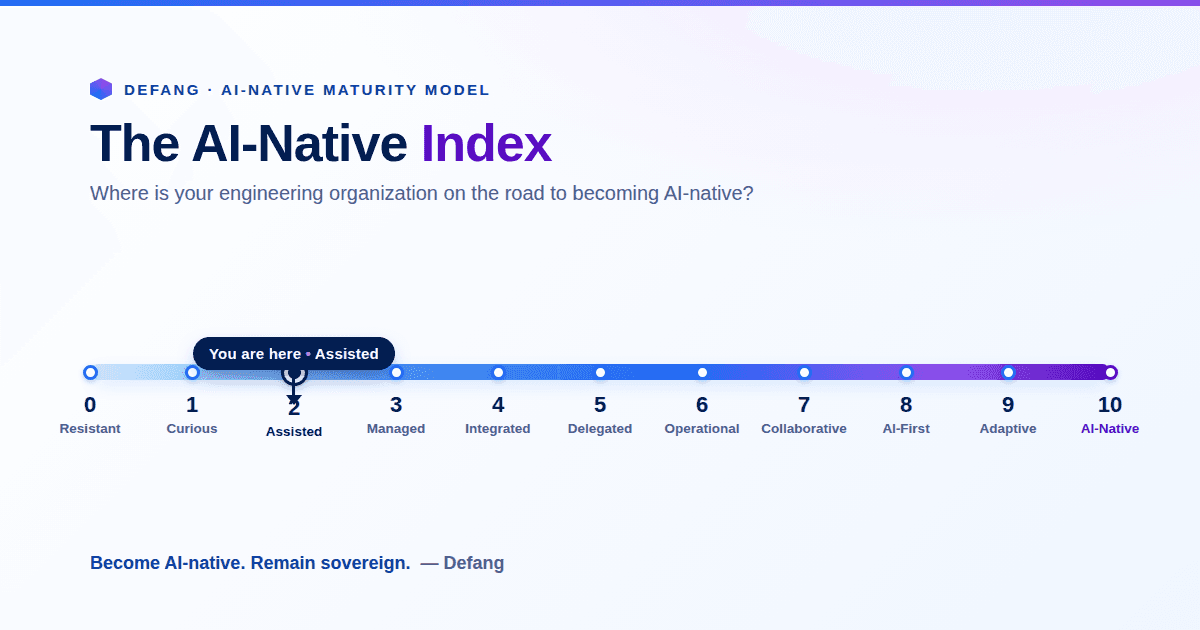
The AI-Native Enterprise: Redesigning Engineering for the AI Era
The next wave of competitive advantage won't come from adopting another AI tool. It will come from redesigning engineering around humans and AI agents working together, while preserving engineering sovereignty.
Introducing Defang Forge: Helping Companies Build for the AI-Native Era
Today, we are excited to introduce Defang Forge, a new engineering practice from Defang that helps organizations design, build, and deploy AI-native software.

Why We're Moving to Account-Based Pricing
Defang plans are now based on the number of cloud accounts you deploy into, not the number of people using Defang. Here's why account-based pricing better reflects how teams—and AI agents—build today.